How to Create a Vision Board for Your Goals| Physical & Digital Versions
This page may contain affiliate links, meaning I may get a commission if you decide to make a purchase using my link at no cost to you. See my full affiliate disclosure for more information. I genuinely appreciate your support.
If you are like me, the New Year brings a much needed reset and breath of new inspiration. It’s my absolute favorite time of year for refilling my ambition cup through planning and visualizing. Today, we focus on the visualizing part. Trust me, I have some super exciting things in the pipeline to help you in a new and fun way with planning! (squeaks with excitement)
Whether you prefer a physical board or a digital one, the process is fun and creatively fulfilling. I’ll walk you through how you can create both types of vision boards and reignite the passion you have for your own life!

Table of Contents
- What is a Vision Board?
- Benefits of a Vision Board
- Creating a Physical Vision Board
- Creating a Digital Vision Board
- Printing Your Digital Vision Board
- Life Categories to Consider
- Tips for an Effective Vision Board
Vision boards are a fantastic way to reevaluate and define the “what” and “why” of what you are working so hard for. Visualizing your goals and dreams keeps you motivated and focused throughout the year.
1. What is a Vision Board?
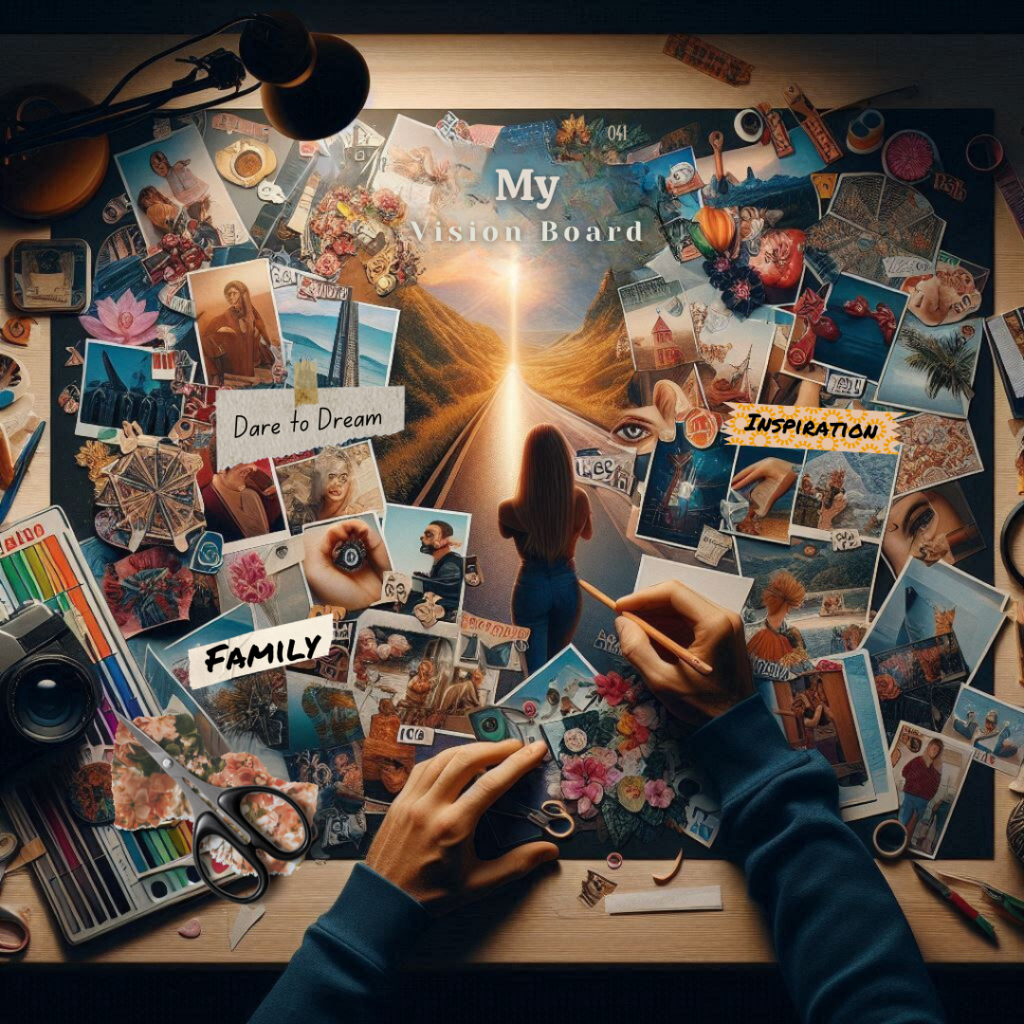
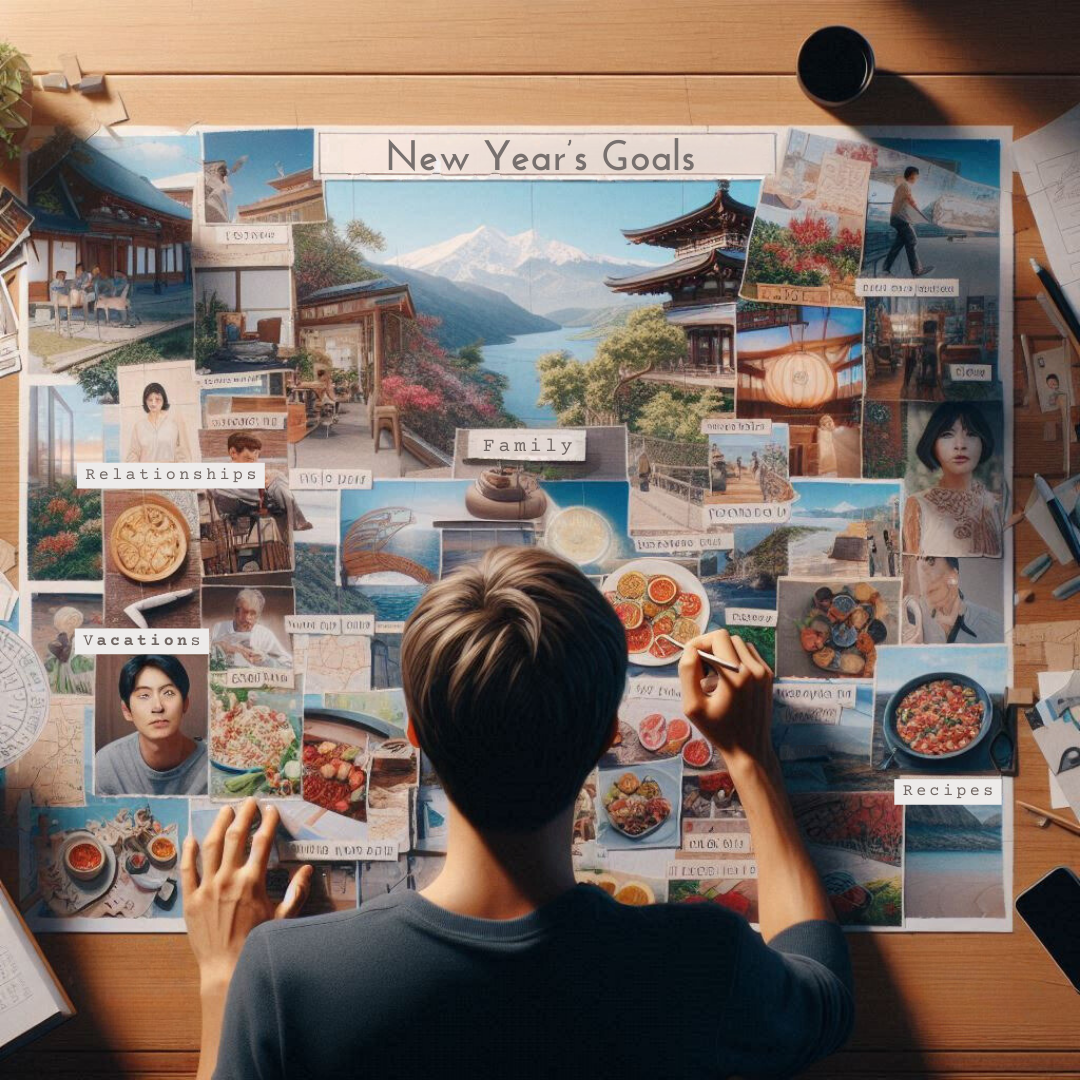
Not that a vision board needs any introduction these days, but in case you don’t know: A vision board is a visual representation of your goals and aspirations. A collection of images, words, and quotes that inspire you and remind you of what you want to achieve. Think of it as a daily visual reminder of your dreams.
2. Benefits of a Vision Board
Creating a vision board comes with numerous benefits. Not only does it help you visualize your goals, but it also serves as a constant source of motivation and inspiration. By regularly engaging with your vision board, you can maintain focus on your dreams and keep a positive mindset.
3. Creating a Physical Vision Board
Making a physical vision board is a hands-on, tactile experience that can be incredibly satisfying. Here’s how to get started.
Materials Needed:
- A large piece of poster board or corkboard. Can be found at the Dollar Store.
- Magazines, newspapers, printed images. Tip: ask dental or doctors’ offices if they have any old magazines laying around.
- Scissors, glue, imagination
- Markers, stickers, other decorative items

Steps:
- Set Your Intentions: Spend some time thinking about what you truly want to achieve. Break down your goals into categories like career, health, relationships, and personal growth. I dive deeper into this further down in the article.
- Gather Your Materials: Flip through magazines and cut out images, words, and quotes that resonate with your goals. Print out specific images if you can’t find them in magazines.
- Layout Your Board: Arrange your cutouts on the board before gluing anything down. Play around with the layout until it feels just right.
- Start Gluing: Once you’re happy with the layout, start gluing everything in place. Don’t forget to leave some space for future additions!
- Add Personal Touches: Use markers, stickers, and other decorative items to personalize your board. Make it uniquely yours.
- Display Your Board: Place your vision board somewhere you’ll see it every day. It could be in your bedroom, office, or even the kitchen. Or like me, in my planners and on my computer background.
What’s the first image or quote you’re adding to your vision board? Share in the comments and let’s help to inspire each other!
4. Tools for Digital Vision Boards
If you’re more into the digital realm, creating a digital vision board might be your jam. Here are some tools to get you started:
Tools Needed:
- A computer or smartphone
- Design software like Canva, Pinterest, or Adobe Spark
- Canva: (My Pick) Perfect for beginners with its easy-to-use drag-and-drop interface.
- Pinterest: Great for gathering inspiration and creating boards.
- PicMonkey: Another fantastic tool for creating visually stunning boards.
- MindMeister: For those who like to mix mind mapping with visual goals.

Steps:
- Set Your Goals: Just like with a physical board, start by defining your goals.
- Collect Images: Use online resources like Pinterest or google to gather images and quotes. Save them to your computer or create a digital folder. Since you won’t be selling these images or redistributing them, no owner rights or permissions should be needed to safe photos from these outlets. Personal use only my friends.
- Choose a Platform: Canva is a great tool for creating digital vision boards. You can also use Pinterest to create a dedicated vision board.
- Design Your Board: Use your chosen platform to arrange your images and quotes. Play around with the layout until it feels right.
- Save and Display: Once your board is complete, save it as your desktop wallpaper or print it out to display.
5. Printing Your Digital Vision Board
Printing your digital vision board can make it tangible and give you a physical reminder of your goals. I print mine to put in my planners, so I have access to them every day. Here’s how to do it.
Steps:
- Design in High Resolution: Ensure your digital board is created in high resolution for clear printing.
- Save as PDF or Image File: Save your vision board as a PDF or high-quality image file.
- Print: Use your home printer or a professional printing service to print your vision board.
- Display: Place the printed vision board in a prominent location where you’ll see it daily.
Tip: when using Canva, create a new project and select custom so that you can choose what size your vision board will be when you print it.
6. Life Categories to Consider
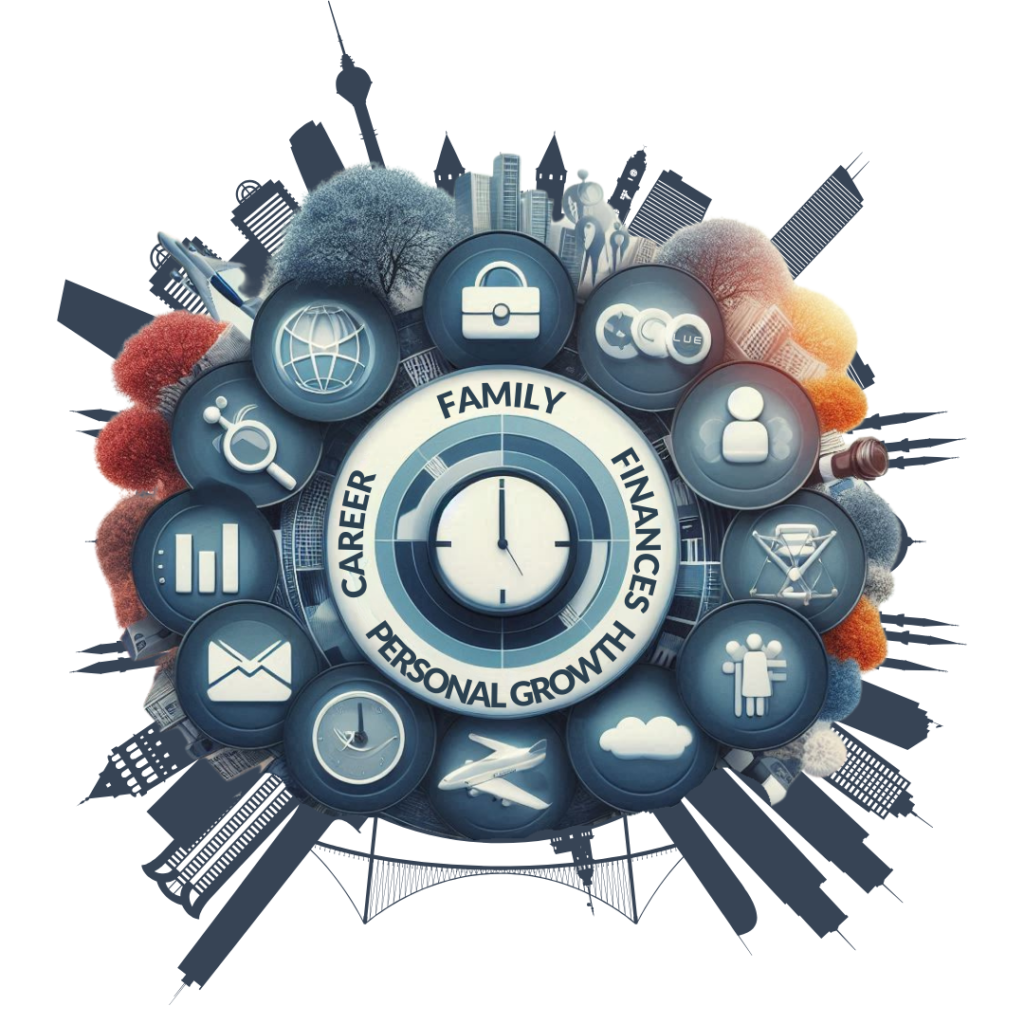
When creating your vision board, think about different areas of your life that you want to improve or focus on. Pick a minimum of 5 pictures (goals) for each category, though you might not use them all.
Mix it up between words, photos, and quotes. Anything that inspires you and reminds you of what you are wanting to accomplish.
Ideally, you’ll end up with your top three goals in each category represented on your board.
Here are some categories to get you started:
- Career: Visualize your professional goals and aspirations. Pick a range of obtainable/immediate goals and your big fish career visions.
- Relationships: Focus on the quality of your personal connections. Place specific experiences you want to manifest, like a hot air balloon ride engagement or some family excursions you want to have that deepen quality time.
- Health: Set fitness and wellness goals. Whether it is recipes to inspire a healthier variety of food, physical appearance goals or mental health focused. Remember you are more than just your body. You are also mind and Soul. Consider habits you want to create and others you want to break to encompass your whole being.
- Finances: Visualize financial stability and prosperity. Moreso, try to find inspiring photos of what being prosperous would allow your life to look like. For instance, does it mean you have more time to enjoy your family? Essentially, what is the inner core of that goal going to provide that you are looking for.
- Personal Growth: Include goals for learning and self-improvement. This is another category you could place habit inspiration like morning prayers, cold plunges, or Audiobooks and podcasts based around learning a new hobby or side hustle.
- Travel: Dream destinations and travel experiences. Where do you want to go? What do you want to do and see? This is always the section I need to trim back, because your girl be a big dreamer — *starts singing* “and I’m not the only one”, Imagine, by John Lennon.
- Hobbies: Pursue passions and creative activities. Are you going to start a new hobby this year or follow through on projects you began last year?

It’s always important to think about why these things matter to you and find inspiration based on that. Such as in your Personal growth section: having a goal of better sleep is great, but what would your life ideally look like if you did have better sleep?
Maybe you post a photo of the words “better sleep”. Under that you find an inspirational photo of someone who looks well rested, in a good mood and is slaying their productivity goals. You can then associate the words “better sleep” with someone who has a better quality of life in your eyes.
Try to do things like this in each category throughout your vision board to drive home why those goals are important to you.
7. Tips for Making Your Vision Board Effective
An effective vision board is more than just a collection of images; it’s a strategic tool to help you stay focused and motivated. Here are some tips:
- Be Specific: Use specific images and words that clearly represent your goals.
- Stay Positive: Focus on positive affirmations and what you want to achieve.
- Update Regularly: As you achieve goals, update your board to reflect new aspirations.
- Visual Appeal: Make it attractive and appealing to keep you inspired.
- Daily Engagement: Spend a few minutes each day looking at your board and visualizing your success. I not only print it to put it in my planner, But I also save my digital vision boards as my computers screen saver and background.
I am going to make a video tutorial showing you how to create a digital vision board, how to print it and how to save it to your desktop. Stay tuned for that. I will link it here when it’s done.
Creating a vision board, whether physical or digital, is a powerful tool to help you stay focused and motivated on your goals. If you are ready to bring your dreams to fruition, grab those magazines, fire up Canva, and start creating your vision board for your Best Year Yet!
Have you made a vision board before? What’s your number one goal right now? Share your thoughts in the comments below!
And if you loved this guide, don’t forget to share it with your tribe! In fact, it’s one of the party themes I suggest in my post “Family-Friendly New Year’s Eve Activities & Traditions”. Head to that post now for more New Year planning.
Until next time, may your vision be clear, your goals be near, and your dream board be ever inspiring!
Dream Big, You Visionary Vortex,
Anna
Frequently Asked Questions
Q: How often should I update my vision board? A: Update it as often as your goals and aspirations change. A good rule of thumb is every six months to a year. In my Monthly planners I suggest you create a new one for each month that pertains to your focus for that month.
Q: Can I have more than one vision board? A: Absolutely! You can have different boards for different aspects of your life, like career, personal growth, or travel goals.
If you have any other question, visit my comments section below, I would love to hear from you!
